

Editorial date: September 26, 2026. First added to RigPeak: November 20, 2026. Updated November 20, 2026. This guide is based on the cited documentation and editorial analysis; it is not a hands-on test report.
Arknights rewards understanding a map more than filling every squad slot with the rarest operator you own. You deploy units to control routes, keep them alive and stop enemies reaching an objective. The right low-cost unit in the right position can do more than a stronger unit deployed too late.
Begin with the tutorial stages and a small group that covers different jobs. Your goal is to explain why a route is safe, not merely repeat a winning video without understanding its timing.
Read the map before placing an operator
Identify enemy entrances, the objectives they are trying to reach and the paths between them. Look for ground tiles that can hold a route and elevated tiles that offer useful coverage.
Consider which enemy appears first and how long you have before it reaches the objective. The first operator must fit both the task and your available Deployment Points, usually shortened to DP.
Some stages change normal assumptions or add special mechanics. Read their description. A strategy that depends on ordinary DP recovery, for example, will not work unchanged where that recovery is restricted.
Build around jobs rather than rarity
A practical early squad needs ways to establish the field, stop enemies, deal appropriate damage and recover health. The exact mix changes by stage.
Vanguards can help establish an opening and, depending on their traits or skills, support DP generation. Defenders often hold a route. Snipers, Casters and Guards provide different forms of damage and coverage; Medics and other support tools help keep the plan intact.
Those class names are starting clues, not complete descriptions. Read the operator's range, block count, targeting and skill. The official game description introduces operator recruitment, training and the game's tactical structure.
Separate battle resources from account resources
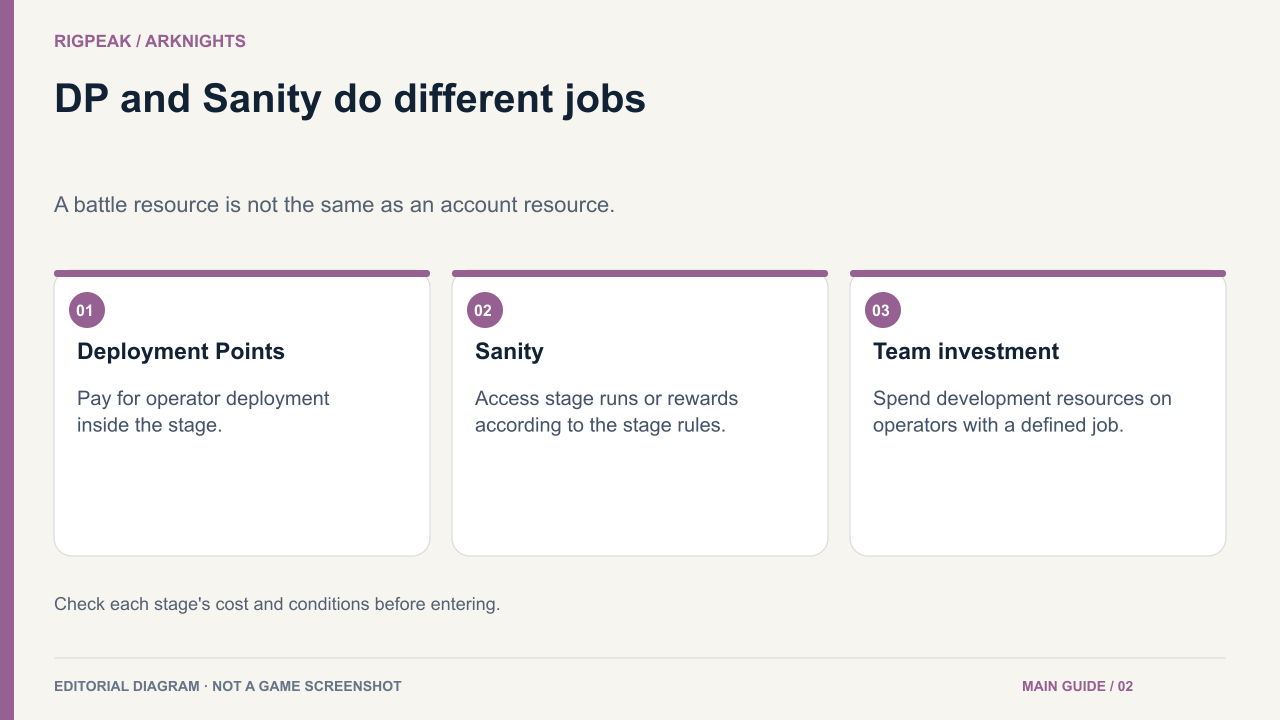
DP is used to deploy operators and other eligible battlefield units. It is not Sanity, the account resource associated with entering or claiming progress from relevant activities.
If a powerful operator costs more DP than you can produce before the first enemy arrives, they cannot solve your opening. Use an affordable opening and bring the stronger unit in when the field supports it. The community Deployment Point reference explains the distinction and different DP-related effects.
Do not deploy a unit merely because its portrait becomes available. Spend DP on the next threat your current arrangement cannot handle.
Work through a simple lane
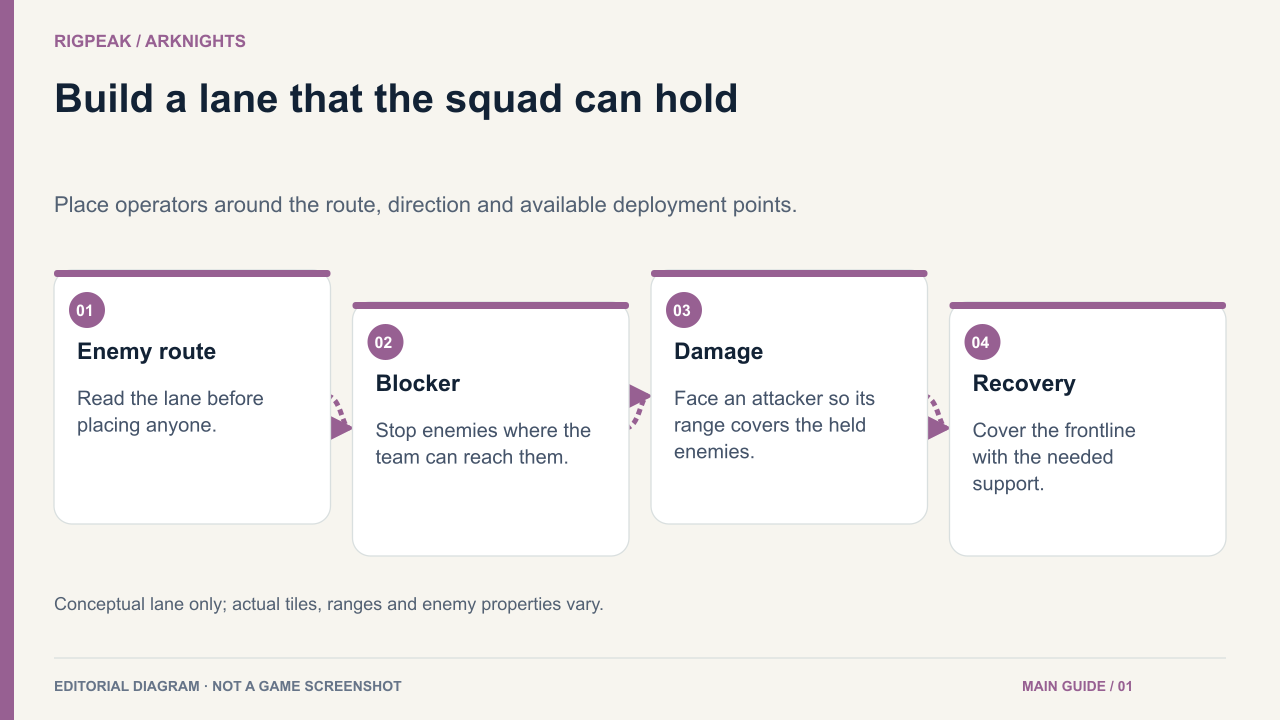
Imagine an early map with a single ground route and an elevated tile overlooking it. Establish an affordable blocker before the first enemy passes. Add damage that can reach the blocked enemies, then healing if incoming damage requires it.
Check the direction of each placement. A healer outside the blocker's range, or a ranged unit facing away from the choke point, contributes little even if their level is high.
Watch what changes when a tougher enemy arrives. If the blocker is healthy but enemies accumulate, add suitable damage. If the blocker dies quickly, inspect healing, defence and the damage type received. If enemies simply walk through, check block capacity and the number arriving together.
Use skills for the wave that needs them
Read the skill's activation method, duration and recharge behaviour. Use it to answer a particular wave or threat rather than automatically pressing it on the first small group.
A damage skill activated after the dangerous enemies pass its range has been spent without solving the problem. A defensive skill may buy time for the rest of the squad to finish a wave.
Use the available speed and pause controls to make decisions carefully while learning. There is no benefit in rushing through an unfamiliar stage if it prevents you noticing why the plan failed.
Diagnose leaks before raising every level
| Result | Likely question to investigate |
|---|---|
| Enemy reaches the objective untouched | Did you cover its route? |
| Enemies pass a living blocker | Is the block count enough for the wave? |
| Your blocker falls | Can healing reach them, and is the damage manageable? |
| Armoured enemies accumulate | Is your damage type appropriate? |
| The opening collapses | Are your first deployments affordable and early enough? |
Change one position, operator or skill timing and test again. If the plan works but narrowly loses to damage or survival, targeted development becomes easier to justify.
Develop the operators you actually use
Levels, promotions and skills improve different parts of an operator. Start with a working core rather than distributing all materials across every new recruit.
Keep damage, healing and frontline development reasonably aligned. One promoted attacker cannot fix a map where the healer never reaches the frontline.
Treat the base as a working resource system. Factories produce items such as Battle Records and Pure Gold; Trading Posts use their orders, while Power Plants support the facilities. Inspect the selected production and available supplies instead of assuming an assigned operator makes any room productive. The community base reference explains these functions.
Read an operator's base skill before assigning them. Watch morale and use the Dormitory to recover workers so their useful effects remain available. Collect finished output and rotate tired staff during a normal login.
Quick Shifts let you prepare formations for work zones, as described in the official base update. Establish one reliable staffing routine before copying an advanced layout. Avoid upgrading unrelated facilities solely to remove notifications; check what the upgrade enables and what materials it takes.
Check repeat clears after changing the squad
Auto Deploy helps repeat established clears. Watch it after meaningful changes to your team or strategy rather than assuming every recorded run remains reliable. A different timing, placement or development state can alter what happens.
Your first useful milestone is a stage you can explain: where enemies go, why each operator is placed there and when the important skill is used. Build on that understanding as the maps introduce new problems.