

Editorial date: October 6, 2026. First added to RigPeak: November 20, 2026. Updated November 20, 2026. This guide is based on the cited documentation and editorial analysis; it is not a hands-on test report.
Infinity Kingdom connects city development with formations of Immortals and dragons. A strong beginning comes from understanding one march: what its members do, how they work together and what your economy must provide to keep improving it.
Choose a first formation you can actually develop. Collecting more Immortals creates options, but spreading all your resources across them can leave every option incomplete.
Use the city to support a defined goal
Follow the introductory tasks and inspect the requirements of your next useful development step. Identify the building, research or resource that is genuinely missing.
Keep your formation in mind. If an upgrade does not help you unlock, maintain or improve a useful activity, it may be less urgent than completing the chain that does.
Avoid using every speedup as soon as you receive it. Check the remaining requirements and any available alliance help first. Finishing a timer is only valuable if it opens something you can use.
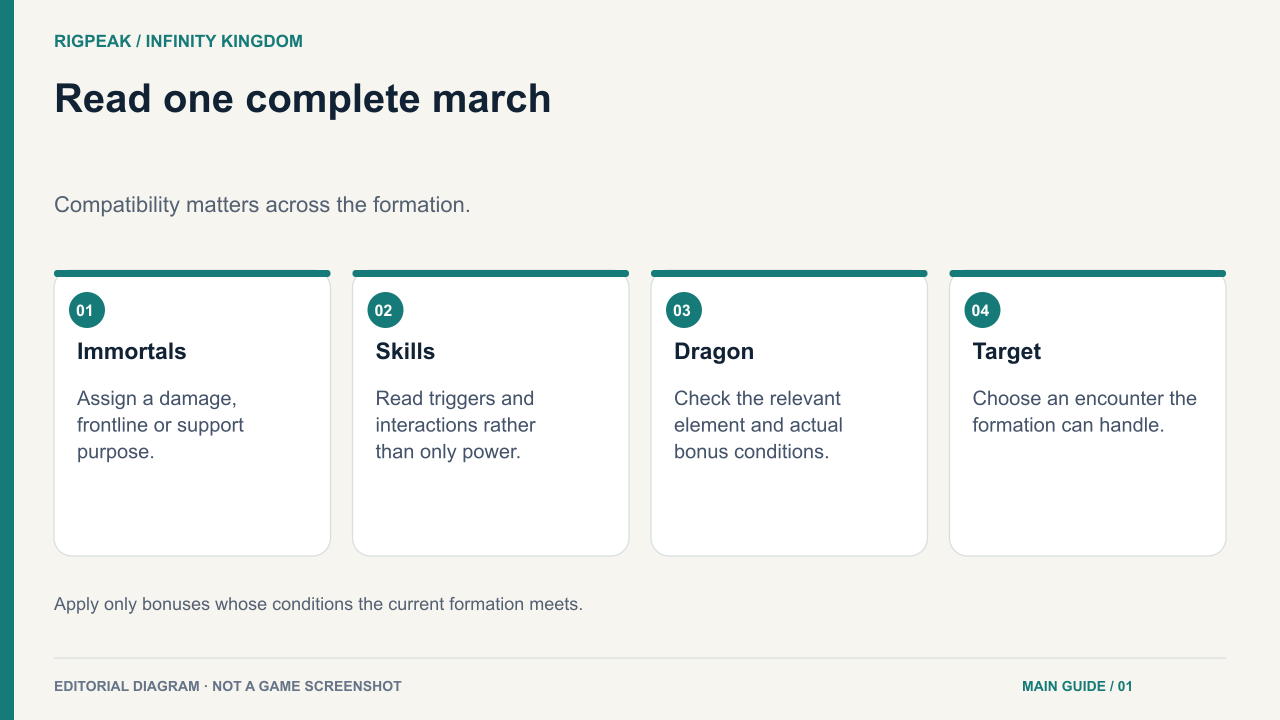
Read the Immortals before arranging them
For each available Immortal, inspect position, troop association, element and skill. Their portraits and rarity do not explain all of these functions.
Choose a frontline that can withstand the encounter and a set of abilities that contribute together. Read whether an effect protects allies, deals damage, interferes with the enemy or supports recovery.
Then check the formation screen for the elemental bonuses it actually activates. The official elemental formation guide explains the principle of combining Immortals with a dragon. Its historical recommended line-ups should not be treated as a current ranking.
Choose the dragon as part of the formation
The dragon is not an unrelated decoration. Read its element, skills and development needs alongside the march.
If you are building around a particular elemental setup, check what the dragon contributes before investing. A theoretical formation that needs several unavailable Immortals is not a useful first project.
Prefer a coherent team you can field now, with a clear path to improvement. You can adapt it when a new acquisition genuinely fills a gap.
Use a battle report as a diagnostic tool
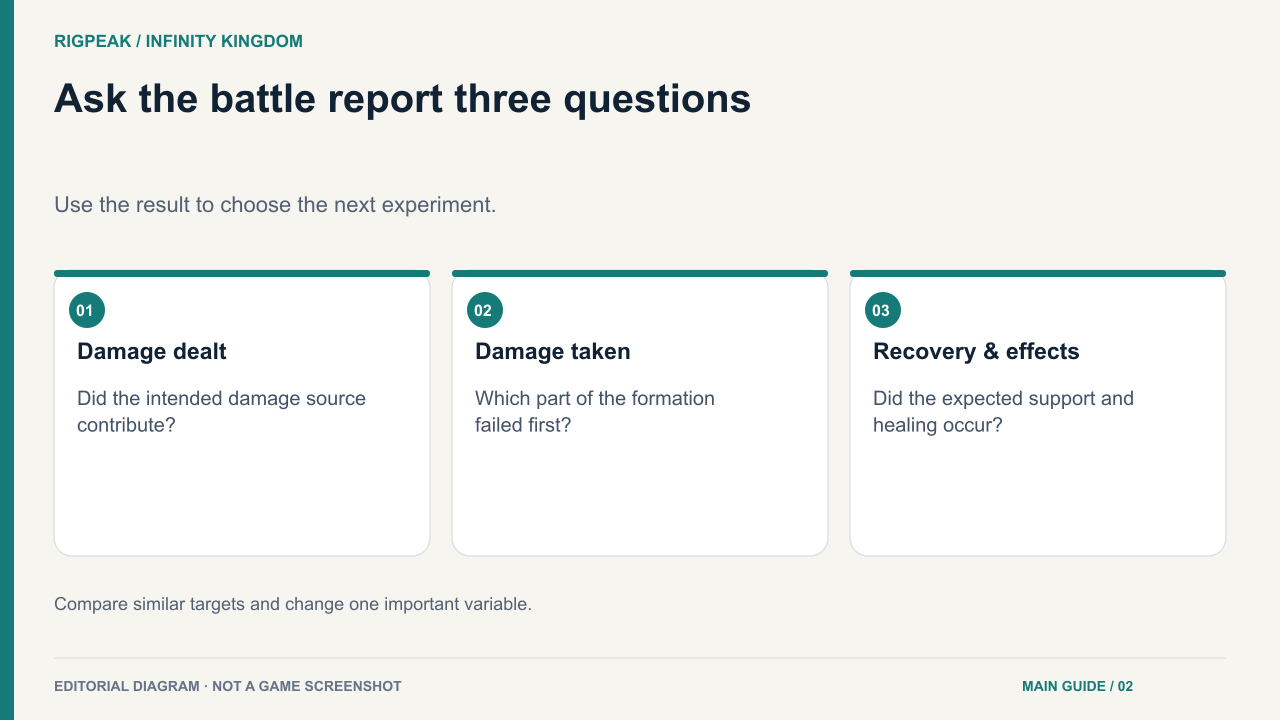
Attempt a suitable PvE target and read the result. Who took the early pressure? Which skills contributed? Did the formation fail because it could not survive, or because it could not finish the opponent?
Do not respond to every loss by raising the same attack statistic. An exposed member may need better protection; a mismatched setup may need different positioning or skills.
The official battle-report update describes categories such as damage, healing and damage taken. Use the information available in your current report to compare attempts.
Change one part, then test again
Suppose the frontline repeatedly collapses while the rear members remain healthy. Investigate the frontline's development and protection first. Increasing a rear damage dealer might shorten the battle, but it does not directly explain why the frontline failed.
Conversely, if everyone remains alive but progress is slow, examine damage contribution and whether your buffs actually apply.
| Observation | Useful next question |
|---|---|
| Formation bonus is absent | Do the selected elements meet its conditions? |
| One member falls much earlier | Is position, development or protection responsible? |
| A skill seems ineffective | Does its condition occur against this target? |
| Upgrades feel scattered | Are they all supporting the same march? |
| Repeated battles strain resources | Is this target an appropriate farming choice? |
Join an alliance and read the activity rules
An alliance can make progression more organised, but its activities have separate access and participation conditions. Start with those your account can support.
The version 3.0.1 notes introduce and revise alliance systems, including rewards and convoy roles. Some roles carry different exposure from others. Read the current activity panel instead of assuming every participant faces the same risk.
Communicate what you can field and when you are available. A consistent smaller contribution is easier for a group to plan around than an unsuitable march sent into every event.
Keep long-term spending selective
Read the actual reward and acquisition conditions before committing rare currency or development materials. A recommendation for an advanced Immortal assumes that you can obtain and support the rest of the setup.
For your first account plan, maintain one useful march, build the city requirements that support it and keep some flexibility for a new role. Move into specialist formations only after you can explain what the first one is doing.
A productive session ends with a stronger connection between city, Immortals and dragon—not just a larger collection of unfinished upgrades.