


Editorial date: October 25, 2026. First added to RigPeak: November 20, 2026. Updated November 20, 2026. This guide is based on the cited documentation and editorial analysis; it is not a hands-on test report.
Your early goal in Soul Land: Awakening World is to understand one working combat setup. More Spirits and more equipment create options, but those options become useful only when you can explain what they change.
This guide covers the 37GAMES regional release identified by com.global.sea.slmmo. The official English listing uses Spirit, Spirimaster, Spirimon, Halo and Spiribone as distinct terms. Keep those labels in mind when comparing advice from other Soul Land games or translations.
1. Follow the opening route and inspect your first Spirit
Complete the opening objectives until the game introduces your usable skills and movement controls. Then open the Spirit or skill interface and read the abilities already available.
Identify your frequent attack, a skill with a noticeable cooldown and any movement or defensive option. Check whether an ability requires a target, a particular distance or another condition. A skill that looks powerful in a preview may be difficult to land if you use it from the wrong position.
Set a modest first target: defeat ordinary enemies while knowing which skill caused each effect. That understanding is a stronger foundation than pressing every available button whenever it lights up.
2. Practice movement before difficult hunts
The official description emphasizes action combat, dodging and Spirit switching. Use an accessible encounter to practice those controls before testing a stronger opponent.
Spend part of a fight watching rather than attacking continuously. Look for the enemy's preparation, the direction of its attack and the recovery afterward. Move out of the threatened area, then use the opening to respond.
If a skill keeps you committed to an animation, choose a safer moment for it. Save a mobility option when you expect to need an escape rather than using every tool to reach the target faster.
Do not assume every attack can be avoided in the same way. Follow the mechanic shown by the encounter and the tutorial. The useful habit is reading the threat before choosing a response.
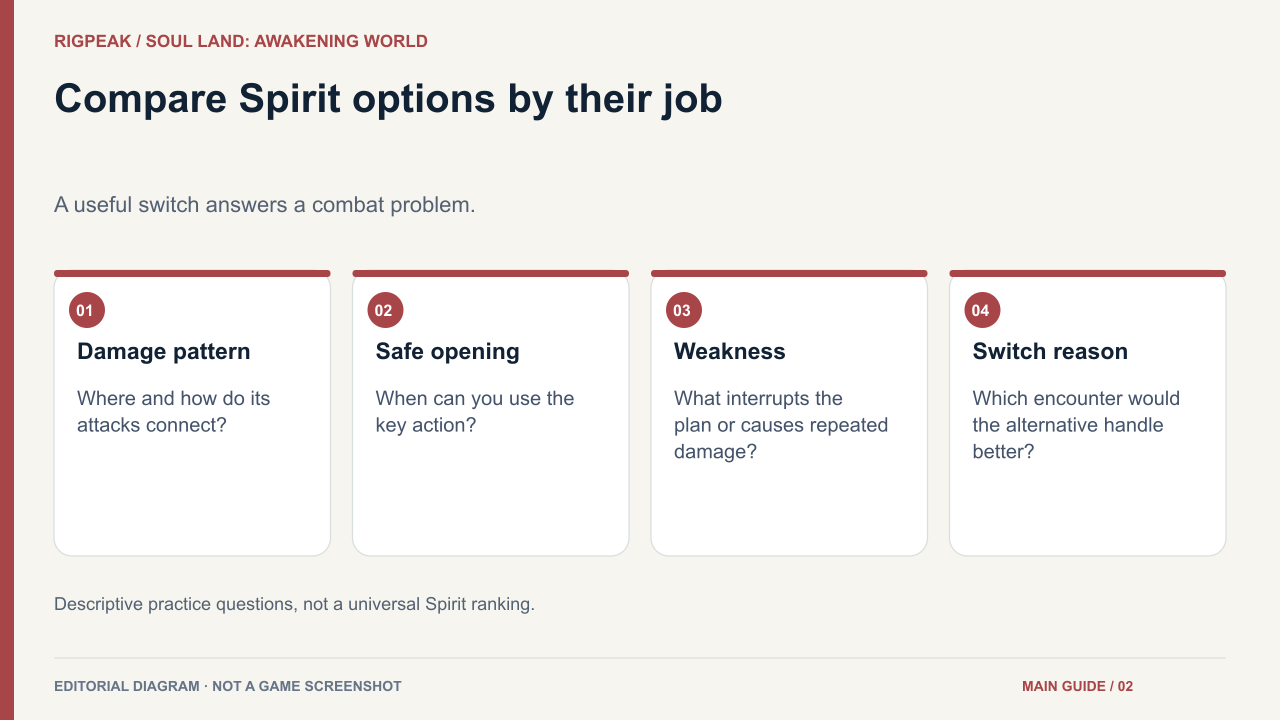
3. Give each Spirit choice a job
When another Spirit becomes available, compare what it adds to your current setup. Does it change your effective range, provide a different attack pattern or answer an enemy your first choice struggles against?
Test the change on a familiar encounter. Use the same objective and observe whether the new configuration improves damage delivery, control or survival. Changing several systems simultaneously makes it harder to tell what helped.
Keep a short note for each option you actually use:
| Question | What to record |
|---|---|
| How does it deal damage? | Range and key skill sequence |
| What creates a safe opening? | Enemy recovery or a useful setup effect |
| What goes wrong most often? | Missed attacks, interrupted actions or poor positioning |
| When would I switch? | A specific combat problem |
You do not need to develop every available option immediately.
4. Prepare a hunt around its requirement
Inspect the available hunt's access conditions, target information and listed rewards. Choose one that advances a current objective rather than entering the hardest-looking activity by default.
Check your equipped skills, recovery options and gear before starting. In a group, learn whether another player expects you to handle a mechanic or attack a particular target.
On the first attempt, concentrate on recognizing the dangerous move. If the hunt fails, decide whether the issue was movement, ability use or insufficient development before spending materials. A repeated avoidable hit will remain a problem after a small stat increase.
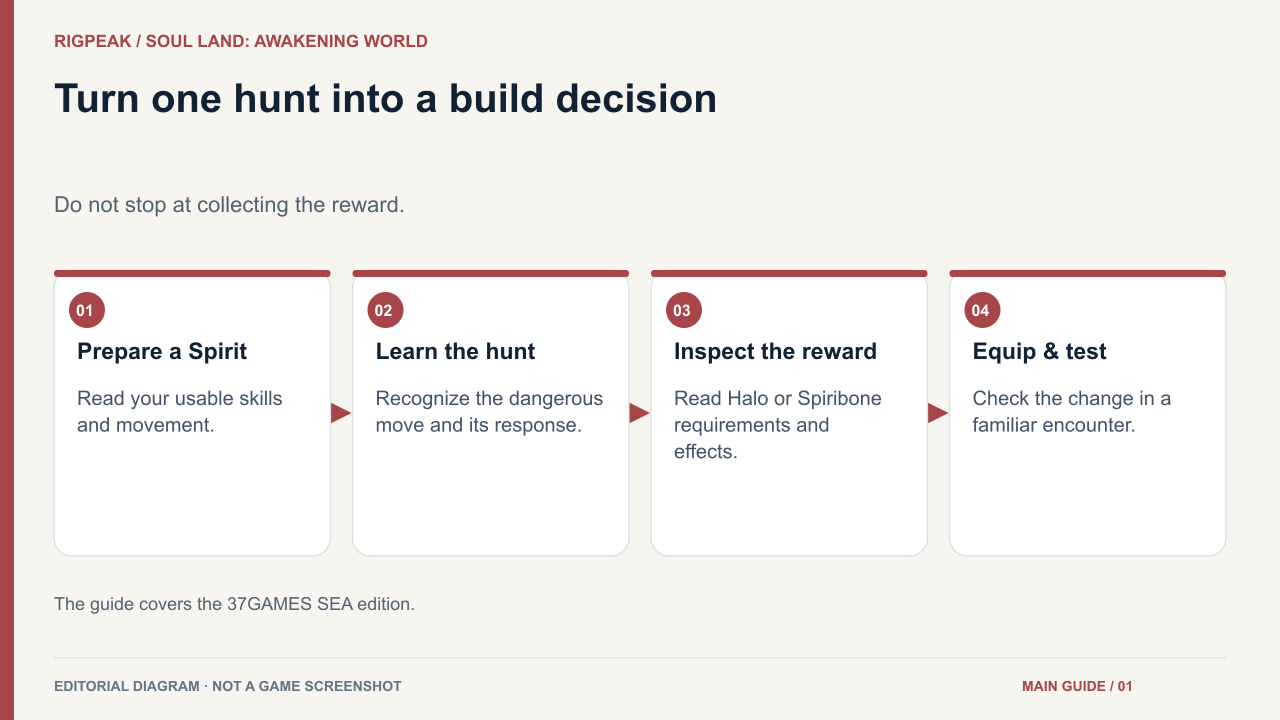
5. Inspect Halos and Spiribones before investing
Defeating Spirimon can provide Halos and Spiribones, according to the developer's game description. Treat the reward as the start of a decision.
Read the item's slot, requirements and actual effects. Determine whether it changes a skill, improves a relevant attribute or belongs to a different setup. Equip it only after understanding that relationship.
Before upgrading, check the material cost and any replacement or transfer rules the interface supplies. A higher displayed score does not explain whether an effect helps the Spirit you are using.
If two items look similar, test one change at a time. Keep the alternative until you have established which performs better for your intended activity.
6. Keep progression and recruitment purposeful
Use the next quest or hunt as a reference point. If access is blocked, satisfy the written requirement. If combat is the obstacle, diagnose what fails and choose an upgrade that addresses it.
When recruitment is available, read its current pool, guarantees and currency rules before spending. Decide whether the possible result supports an existing setup or starts a new project. Neither outcome automatically repairs a movement problem.
End your session by checking what you equipped, what the next objective needs and where that requirement comes from. You are ready to broaden your roster when your first setup feels understandable, repeatable and useful.