


Editorial date: October 31, 2026. First added to RigPeak: November 20, 2026. Updated November 20, 2026. This guide is based on the cited documentation and editorial analysis; it is not a hands-on test report.
Tiles Survive makes expansion tempting: another tile, another building, another survivor. Early progress becomes smoother when the settlement can support those additions. Start by connecting food, workers and production before pushing outward simply because a new area is available.
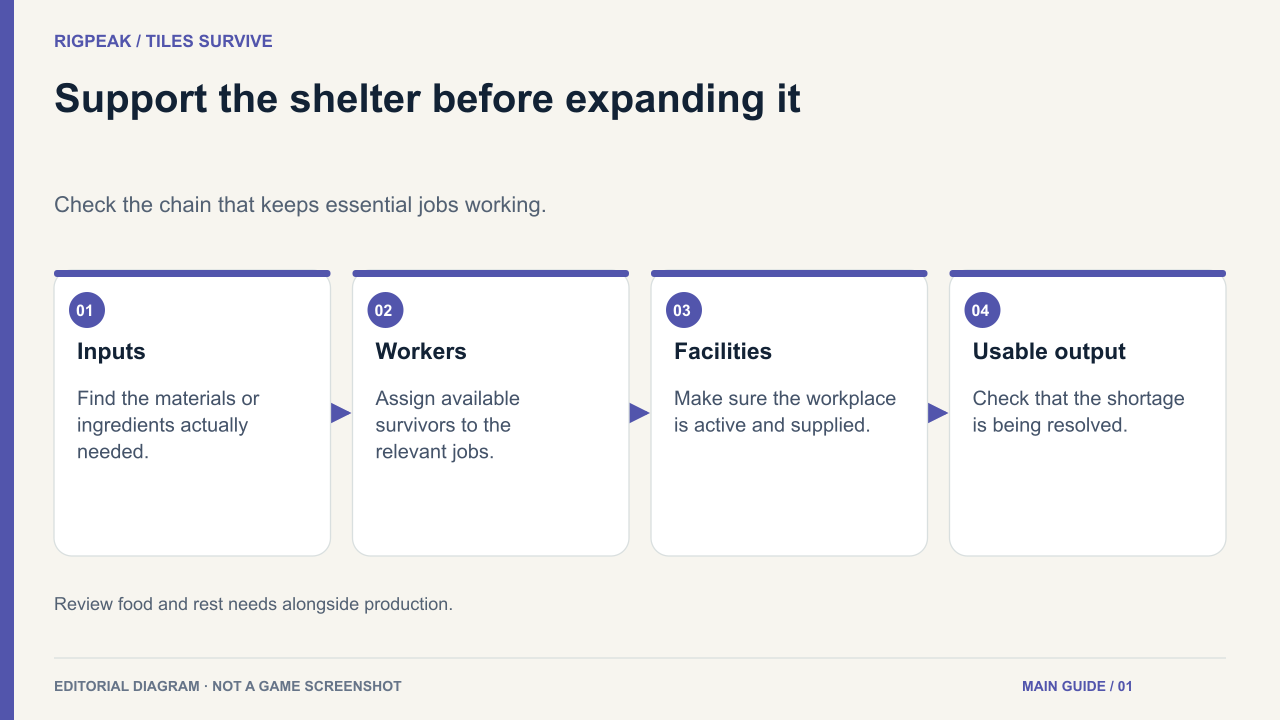
Your first objective is a small shelter whose basic jobs keep running while you complete the opening tasks.
1. Follow Sarge's opening objectives
Use the initial guidance to learn how tiles, survivors and buildings interact. Sarge introduces the settlement, and the opening area gives you a manageable place to observe the results of your decisions.
When a task asks for construction or an upgrade, inspect the requirement panel before spending elsewhere. The building may need material, workers or another completed step.
The BlueStacks beginner guide documents the opening role of Sarge, worker assignments and tile expansion. Treat those systems as connected: a structure is useful when the settlement can operate it.
Pause after a new unlock and check what changed. A short inspection now can prevent a longer shortage later.
2. Check whether the essential jobs are staffed
Look at the survivor or workplace interface and identify who is doing each necessary task. Available workers and assigned workers are not the same thing.
Start with the current shortage. If food is missing, inspect the whole chain: ingredients, preparation and the people assigned to the relevant jobs. If construction is stalled, check whether materials are being produced and collected.
Watch the settlement after changing an assignment. Moving a worker can solve one problem while creating another. Do not judge the decision only by the building you just staffed.
Review any health, rest or other needs shown by the current interface. A plan that assumes every survivor is always available will be less reliable than one based on the workers who can actually perform their jobs.
3. Expand toward a useful tile
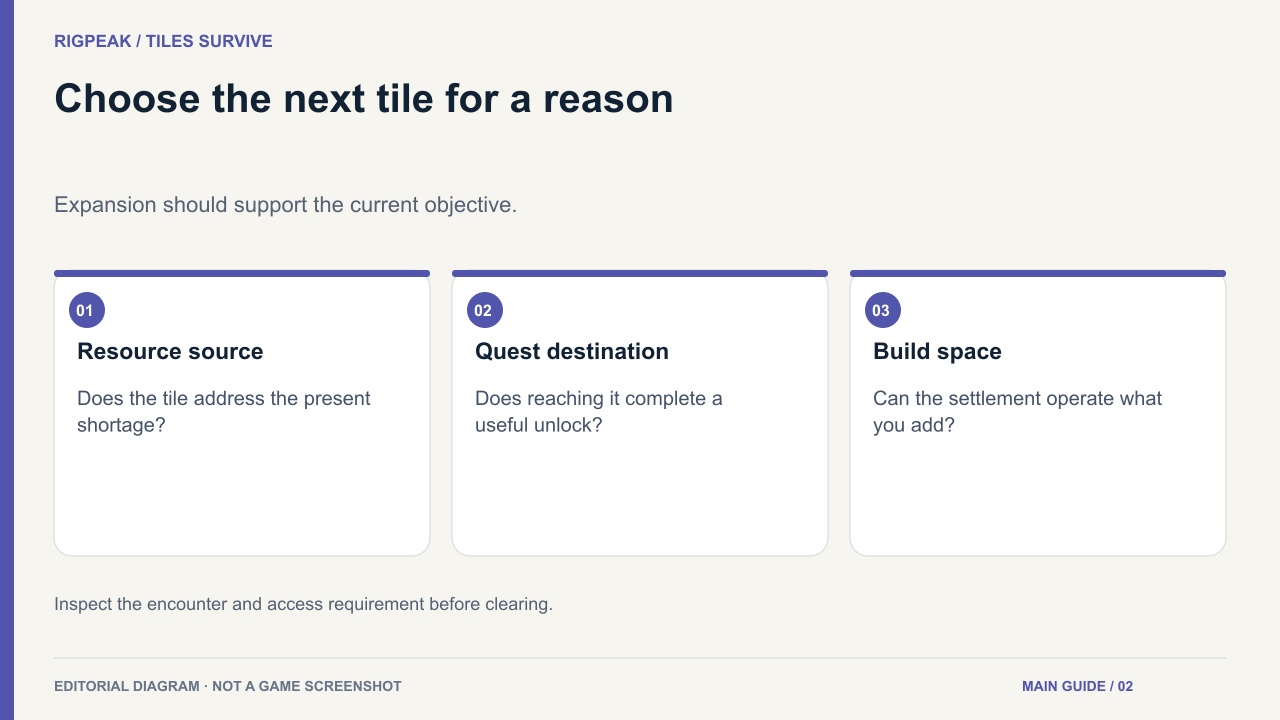
Before clearing another area, identify why you want it. A resource source, a quest destination or useful construction space gives the decision a purpose.
Read the available tile information and prepare for any encounter attached to the expansion. If the shelter already lacks essential supplies, another occupied area may not address the immediate problem.
For example, when a required building needs wood, a reachable wood source and enough collection capacity may be more valuable than an unrelated tile that merely looks rewarding. Check whether the new source can actually be worked with your current survivors.
Complete and inspect one expansion before chaining several. This helps you recognize what the settlement gained and what new demand it created.
4. Upgrade the bottleneck, not every building
Choose a target upgrade from the current quest or settlement need. Open its prerequisites, then work backward.
| What is blocked? | What to inspect |
|---|---|
| Construction | Required material, prerequisite and worker availability |
| Food supply | Ingredients, preparation and staffing |
| Production | Whether the workplace is active and supplied |
| Further expansion | Access requirement, encounter and settlement capacity |
A higher-level building helps only if the rest of the chain can use the improvement. If input materials are missing, increasing processing capacity alone may change very little.
Keep a modest reserve of materials required by several upcoming tasks. Use selectable reward items to address a known shortage when their descriptions permit that choice.
5. Develop heroes for the encounters you can enter
The official game listing describes heroes, shelter development and exploration as parts of the game. When the combat roster opens, inspect each available hero's role and abilities.
Build an initial team that can complete your next available encounter. Invest first in members you actively use, then review whether the team survives and deals enough damage.
If combat fails, check formation, equipped options and ability conditions before spreading materials across the whole roster. A missing role or incorrect setup can look like a simple lack of power.
Treat a new hero as a possible solution to a team need. Its rarity alone does not explain where it belongs.
6. Join an alliance you can participate in
Once the feature is available, look for an alliance with compatible activity times and clear expectations. Learn which cooperative tasks help your current progress and what preparation they require.
Check event start dates and eligibility in the client. A published update can describe a feature that is not active yet; the official update blog is useful context, while the live event panel tells you what you can do now.
Finish a session by inspecting the shelter rather than only collecting rewards. Are the essential jobs assigned? Is the next construction supplied? Do you know why you are opening the next tile? Those answers turn expansion into sustainable progress.