

Editorial date: November 12, 2026. First added to RigPeak: November 20, 2026. Updated November 20, 2026. This guide is based on the cited documentation and editorial analysis; it is not a hands-on test report.
World of Tanks HEAT combines tank combat with Agent abilities and objective-based team play. A useful opening setup is one whose job you understand: where it wants to fight, what its abilities need and how it helps the team take or hold ground.
HEAT is a separate game from World of Tanks. Learn its own controls, visibility and ability rules instead of importing assumptions from the other title.
1. Read the Agent and tank as two connected choices
The Agent supplies a distinctive kit; the tank supplies its own combat characteristics and capabilities. Inspect both before entering a match.
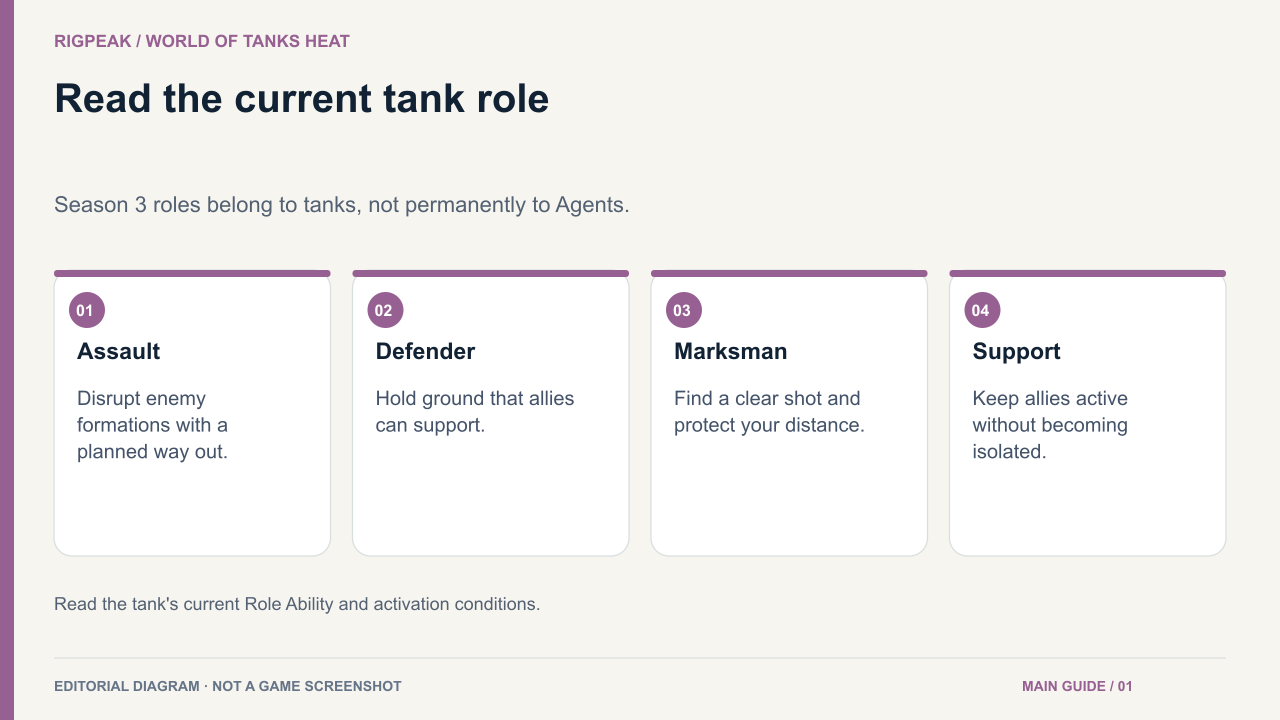
An important update affects older guides: Season 3 assigns combat roles to individual tanks and adds Support alongside Assault, Defender and Marksman. The current official tank-role explanation takes precedence over the older three-role Agent description.
Use the Garage role label to choose the job you want to practice:
| Tank role | Initial learning objective |
|---|---|
| Assault | Disrupt an enemy position without losing your return route |
| Defender | Hold useful ground with teammates able to support you |
| Marksman | Maintain a clear shot and enough space to avoid being rushed |
| Support | Keep an ally fighting while remaining reachable and protected |
These are learning goals, not a promise that every tank in a role handles identically.
2. Test one complete setup in the Firing Range
Read the Agent's Trait and Ultimate, the tank's abilities and its current Role Ability. Separate automatic conditions from buttons you activate yourself.
In the Firing Range, test movement, aiming and one ability at a time. Watch how it becomes ready, what consumes its resource and what interrupts or ends it. Try using it both near cover and while exposed.
Then practice a short sequence: approach, use the ability for a defined purpose, fire and withdraw. You should know how to stop the engagement as well as start it.
The official game guide provides the broader loadout and combat framework. Follow the live descriptions when its older examples differ from the current role system.
3. Read the mode objective before choosing a route
HEAT offers different battle formats. Check the selected mode's rules and active objective instead of assuming every match has the same team size or scoring conditions.
At spawn, identify the objective your teammates are supporting and a route that suits your tank. Avoid moving so far ahead that allies cannot influence the same fight.
For a capture or control objective, removing an opponent is useful because it creates space or time. Chasing that opponent far away may surrender the very ground your team needed.
When the objective moves or a flank collapses, reassess. A strong position stops being useful if it no longer influences the battle.
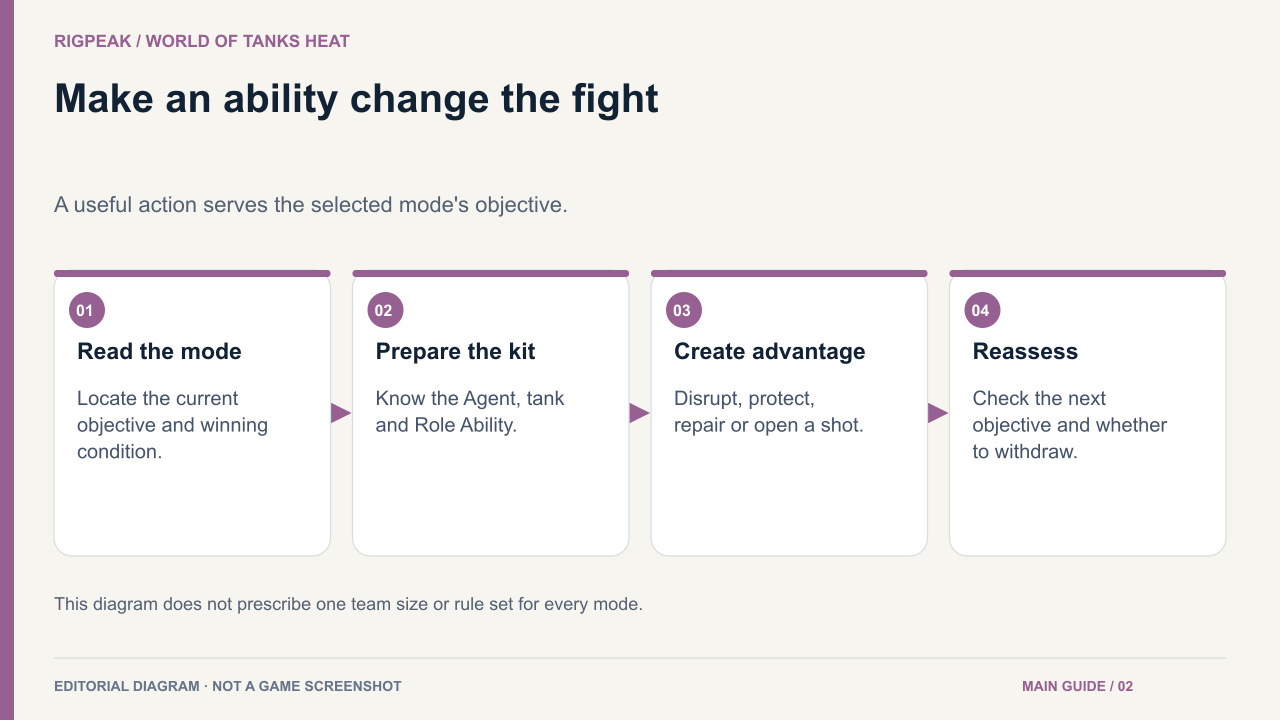
4. Use abilities to create a specific advantage
Before activating a tool, decide what it should accomplish: disrupt an enemy, protect a position, repair an ally or make a shot possible.
Role Abilities have their own conditions. For example, the official role page describes a Support repair drone and a Marksman shot that depends on maintaining the required aim conditions. Check the current tooltip rather than memorizing a number from an older patch.
Do not use every ability simply because it is available. Keeping a movement or defensive option ready can let you survive the enemy's response.
After using an Ultimate, check whether it actually changed the fight. Did the team gain ground, escape a losing exchange or remove a key threat? That question is more useful than measuring the spectacle of the effect.
5. Build modules around the play pattern you use
Start from a basic loadout you can explain. Read both benefits and trade-offs before replacing a module.
If your main problem is being caught during an exposed attack, more theoretical damage may not solve it. A change that helps positioning, recovery or the intended ability sequence could be more useful.
The official Flair deep dive illustrates this principle: her proxy creates positional options, but an uncontrolled vehicle can remain exposed. The tactical opportunity includes a vulnerability you must plan around.
Use such examples to understand a kit, not to copy an old complete build onto every Agent. Test one change before spending on another.
6. Review your contribution to the objective
After a battle, identify the first moment your role stopped helping. Perhaps you held ground alone, moved beyond support range or saved an ability past the moment it was needed.
Choose one correction for the next match. A Defender might start nearer allied support; a Support player might track one teammate more consistently; a Marksman might relocate before an Assault tank reaches close range.
A good beginner setup is not the one with the longest list of upgrades. It is the one you can operate deliberately through the whole engagement, including the retreat and the next objective.