


Editorial date: November 16, 2026. First added to RigPeak: November 20, 2026. Updated November 20, 2026. This guide is based on the cited documentation and editorial analysis; it is not a hands-on test report.
Wuthering Waves becomes easier to read once you separate its combat resources. Switching characters, using a Forte ability and activating a Resonance Liberation are related actions, but they do not all depend on the same gauge.
Begin with a small team you enjoy playing. Learn how its members pass control to one another, then build the equipment that supports that sequence.
1. Follow the opening quests and test your controls
Use the opening story to learn movement, attacks, dodges and the interface. Adjust the camera and controls before a difficult fight makes them a distraction.
When a new Resonator joins, read the skill descriptions and try the character's training when available. Identify a basic attack sequence, a useful Resonance Skill and the condition behind the Forte Circuit.
Explore near your current quest route rather than feeling obliged to clear every visible marker immediately. Activate useful travel points and collect materials you encounter, but keep enough focus to understand the systems being introduced.
2. Give each Resonator a purpose
A team contains up to three Resonators, with one actively controlled at a time. Decide who spends most of the fight dealing damage and what the others contribute: an effect, healing, additional damage or another useful interaction.
Read the actual Outro effects and skill conditions. A support effect that benefits a different attack type may not help your chosen damage dealer as much as you expect.
Start with a short combat plan: prepare an effect, switch to the intended recipient and use that character's useful sequence. Test it on a familiar enemy before building a more complicated rotation.
A team is coherent when you know why each member enters the field—not merely when its characters have similar levels.
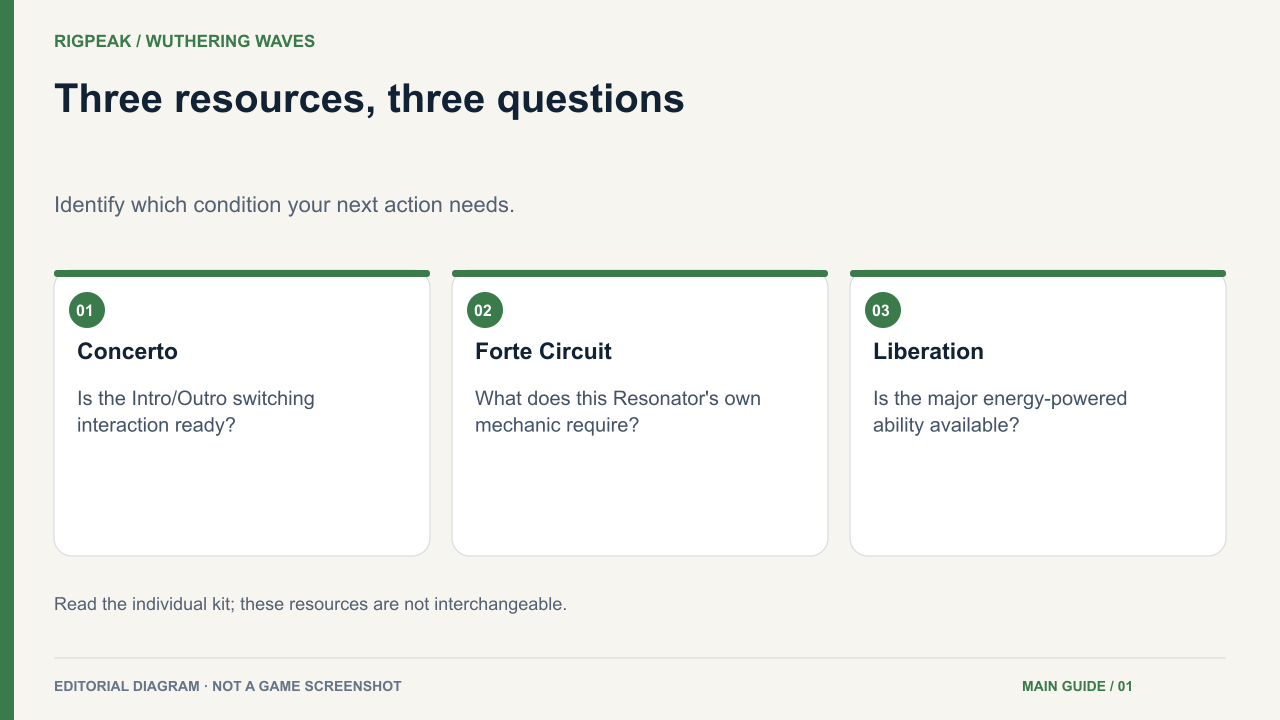
3. Separate Concerto, Forte and Liberation
The three concepts solve different problems:
| System | What to look for |
|---|---|
| Concerto Energy | The switching condition associated with Intro and Outro skills |
| Forte Circuit | A character-specific mechanic with its own rules |
| Resonance Liberation | The character's energy-powered major ability |
Prydwen's beginner explanation describes these distinctions. Read your Resonator's individual kit to learn how its gauges are built and spent.
For practice, watch only Concerto during one fight. Notice which actions help fill it, then switch when the intended Intro/Outro interaction is ready. In another attempt, concentrate on the Forte condition.
You can still switch early when survival or positioning requires it. Waiting for an ideal rotation is not worth losing a character to an obvious attack.
4. Learn the enemy's opening before extending your combo
Watch for the attack cue, choose the appropriate defensive response and retaliate during recovery. Long attack sequences are useful only when the enemy gives you time to complete them.
Practice one difficult move at a time. If you repeatedly take the same hit, shorten your own sequence so you can react sooner.
Follow the game's current tutorials when newer enemy systems appear. Treat a visible Tune Break opportunity according to its prompt and your character's skills; do not confuse every enemy gauge with your Concerto or Forte resources.
The point of practice is recognizing when to act, not memorizing a universal button sequence for every enemy.
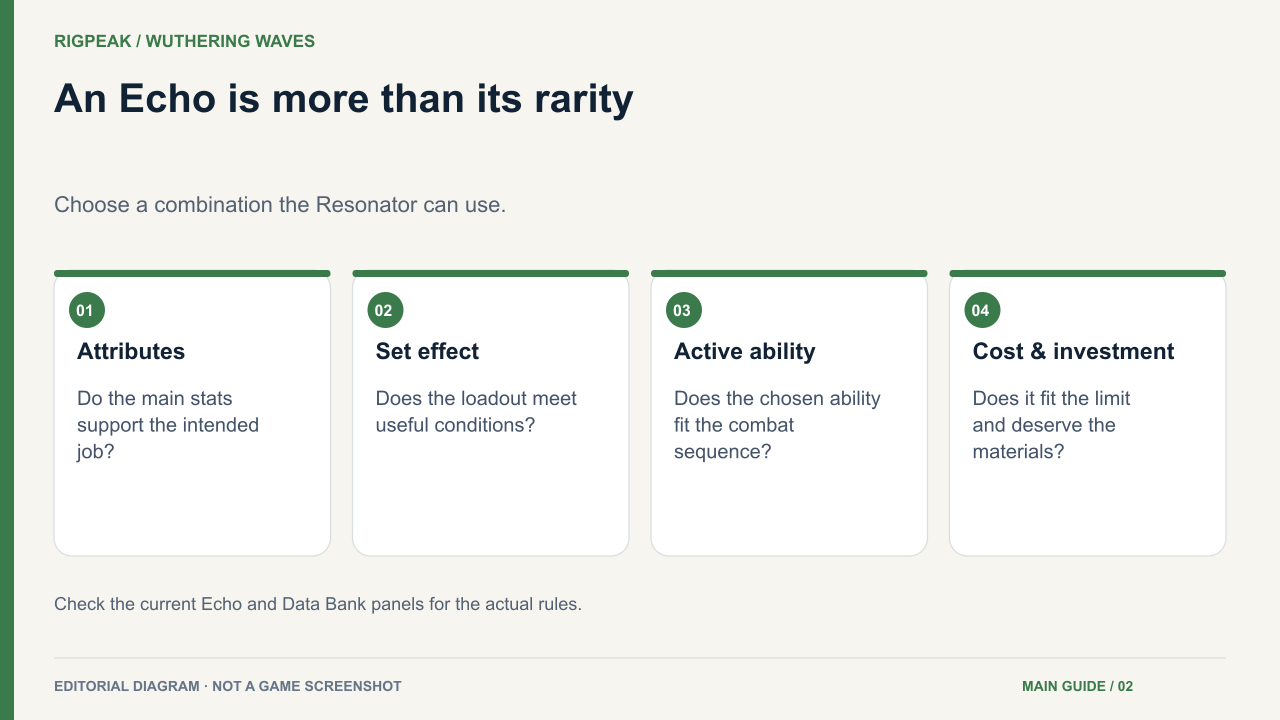
5. Equip Echoes for both stats and function
Echoes contribute attributes and set effects, while the active Echo choice also affects your available ability. Inspect the current loadout's cost limit and slot rules before equipping a combination.
Start with useful main attributes and a relevant effect. Do not chase a perfect set while ignoring equipment that already improves your main character.
The Echo system guide explains the relationship between equipment, active ability and the collection systems. Use the in-game Data Bank to inspect missing entries and current collection progress.
Test an unfamiliar Echo ability in an easy encounter. Observe whether its animation leaves you vulnerable and where it fits into your rotation.
Keep promising pieces until you understand their role. Read any merge, tuning or modification confirmation before consuming materials or other Echoes.
6. Spend Waveplates on the next useful upgrade
Open the character or weapon upgrade you intend to make and inspect its missing material. Follow that material's source to the relevant activity.
Choose the reward you need before committing Waveplates. Ascension, weapon development, skill upgrades and Echo investment address different parts of a build. The Resonator progression guide is a useful reference for these separate systems.
Concentrate first on the team you actively use. Spreading every resource equally across new recruits can leave the main team short of a meaningful improvement.
If a fight is blocked, diagnose it: a missed mechanic, a broken team interaction or inadequate development. Change the relevant part and try again. Your early account is progressing well when both the combat sequence and the reason for each upgrade are clear.